Ludum Dare 42 post-mortem
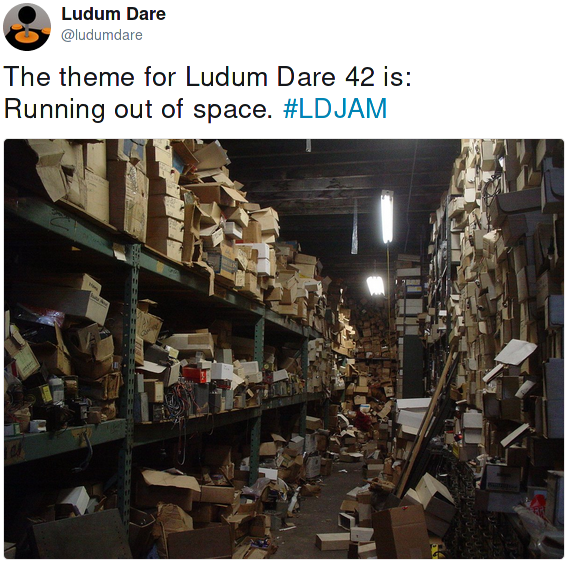
2018-08-20Previous weekend (August 11-12) I participated in Ludum Dare – an online event where the goal is to make a video game, solo, (mostly) from scratch, in 48 hours. This was the 42nd Ludum Dare, and this time the theme was "Running out of space". Over the two days of the weekend, I've written code, made pixel-art, generated sounds and designed levels; the end result of all of this was Super Overachiever 42000 Deluxe. In this blog post, I want to reflect on the compo – what I did well, what went wrong, and what lessons are there to learn.
During the compo
This Ludum Dare started at a special, "Europe friendly" time – three hours earlier than normal, which meant midnight for me here in Poland. Having taken a small nap before, I sat at my workstation, waiting for the theme to be announced. 20 minutes... 10 minutes... 3 minutes... and there it was!
The theme was, uh... riveting. I mean, okay, let's be honest: most compo themes are far from ground-breaking, so coming up with an idea is always the first major obstacle. After thinking about it for a while, I got an idea: what if I made a platformer game, where power-ups would zoom in the world or obscure the screen somehow, so the player would have to maintain a balance between powering-up their character and still being able to see what is actually going on?
Prototyping
This seemed like an interesting gimmick, so I decided to get to work and try to create some basic platforming mechanism. Contrary to my usual preferences, instead of writing a native game in C or Pascal, using SDL, I decided to go with HTML5 and JavaScript this time. This meant that I had to start with skimming through the code of my old JS games to see how they worked. After copy-pasting some code, I got a working main loop and input handling. Add some box here that'll pretend to be the ground, write some physics code for the hero... And voilá, something's moving on the screen.
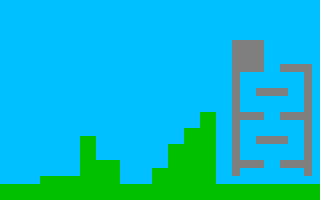
Later on, I added a small pipe that the hero could jump over and stand on (but couldn't fall down from). That being done, it was time to think of a way to design levels for the game, since writing JS entities by hand obviously wasn't the best choice.
Adding tile maps
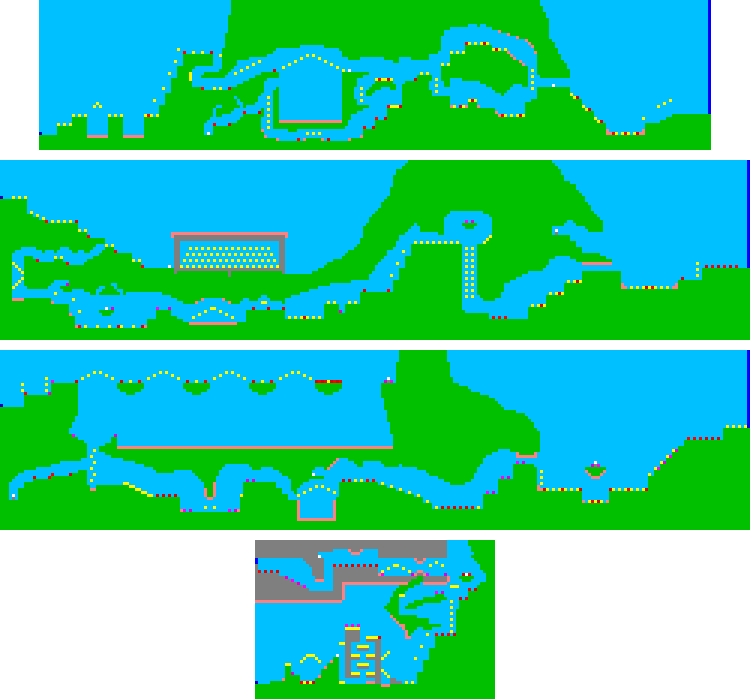
I really didn't want to have to write a level editor, since that would take a lot of time, so I decided to go the simple way and store my levels as images. On one hand, this would heavily limit what could happen in the levels - e.g. having two entities (like an enemy and a coin) spawn at the same spot would be impossible; on the other hand – this was a compo, so no one really expected ground-breaking mechanisms, and editing levels in an image program was quick and easy.
After writing a png-to-JS converter and adding code to the game for loading and rendering the tiles, I finally had something on the screen that resembled a game level. After editing the physics code so jumping around the map (and falling off ledges) was actually possible, there was one more thing left to do – getting the tiles to render edges and corners correctly.
I had already done this before for my Pascal games, Alexland and Platformer. I dug out an abandoned remake (or, should I say, re-attempt?) of the platforming game and took a look at the algorithm. Code-wise, it was very simple, so I copy-pasted the code and then converted it from Pascal to JavaScript. Now that I could watch the test level in its full glory, it was time to move on...
Changing focus
Somewhere along the way I got the idea that achievements could also be an interesting gimmick; it's not that hard to come up with mundane stuff that the player can be "rewarded" for, and if I coupled this with achievements staying on-screen forever... Hmm. I got to work and wrote some initial achievement code. After doing some testing with "fake" achievements, I was pleasantly surprised; the effect was very nice and fit the compo theme perfectly. Thus, I decided to add some more achievements to the game, and also add tiers (or "steps", as they're called in game code), where you'd gain the same achievement again after performing an action a certain number of times.
At this point it became clear that it will be much easier to just keep adding achievements for the most mundane things to the game, rather than go the "power-up equals zoom" route – especially since I used pixel-art for the graphics, which meant I couldn't just re-scale everything in code; I had to create entirely new sprites for each zoom mode. It was at this moment that I decided the game will have two, maybe three scales top – not five, as I had originally planned.
After adding some more achievements and extending the number of tiers, I got tired and decided to call it a day. As I tried to fall asleep, I got the inspiration for the name of the game; I got up, wrote it down on a piece of paper, and went back to bed.
Designing a logo
Since I'm far from proficient at doing pixel-art, especially the high-detail kind, I looked for an alternative method to make a logo for my game. The answer came quickly and was fairly obvious – why not use an analog method? I have a colour scanner, so I could create something on paper and then digitalize it.
While this was a great idea, I quickly realised a problem – I don't have any colour pencils. I asked my girlfriend if she had some,
as I recalled her buying those – alas, no, they were normal pencils. I could go to a sto- no, wait, I couldn't; the current government
banned put heavy restrictions on trading on Sundays,
so most of the stores were closed. Eventually my girlfriend dug out a box of crayons she had laying somewhere deep in a drawer.
While I wasn't too enthusiastic about crayons, I didn't really have a different option, so I decided to work with what I have.
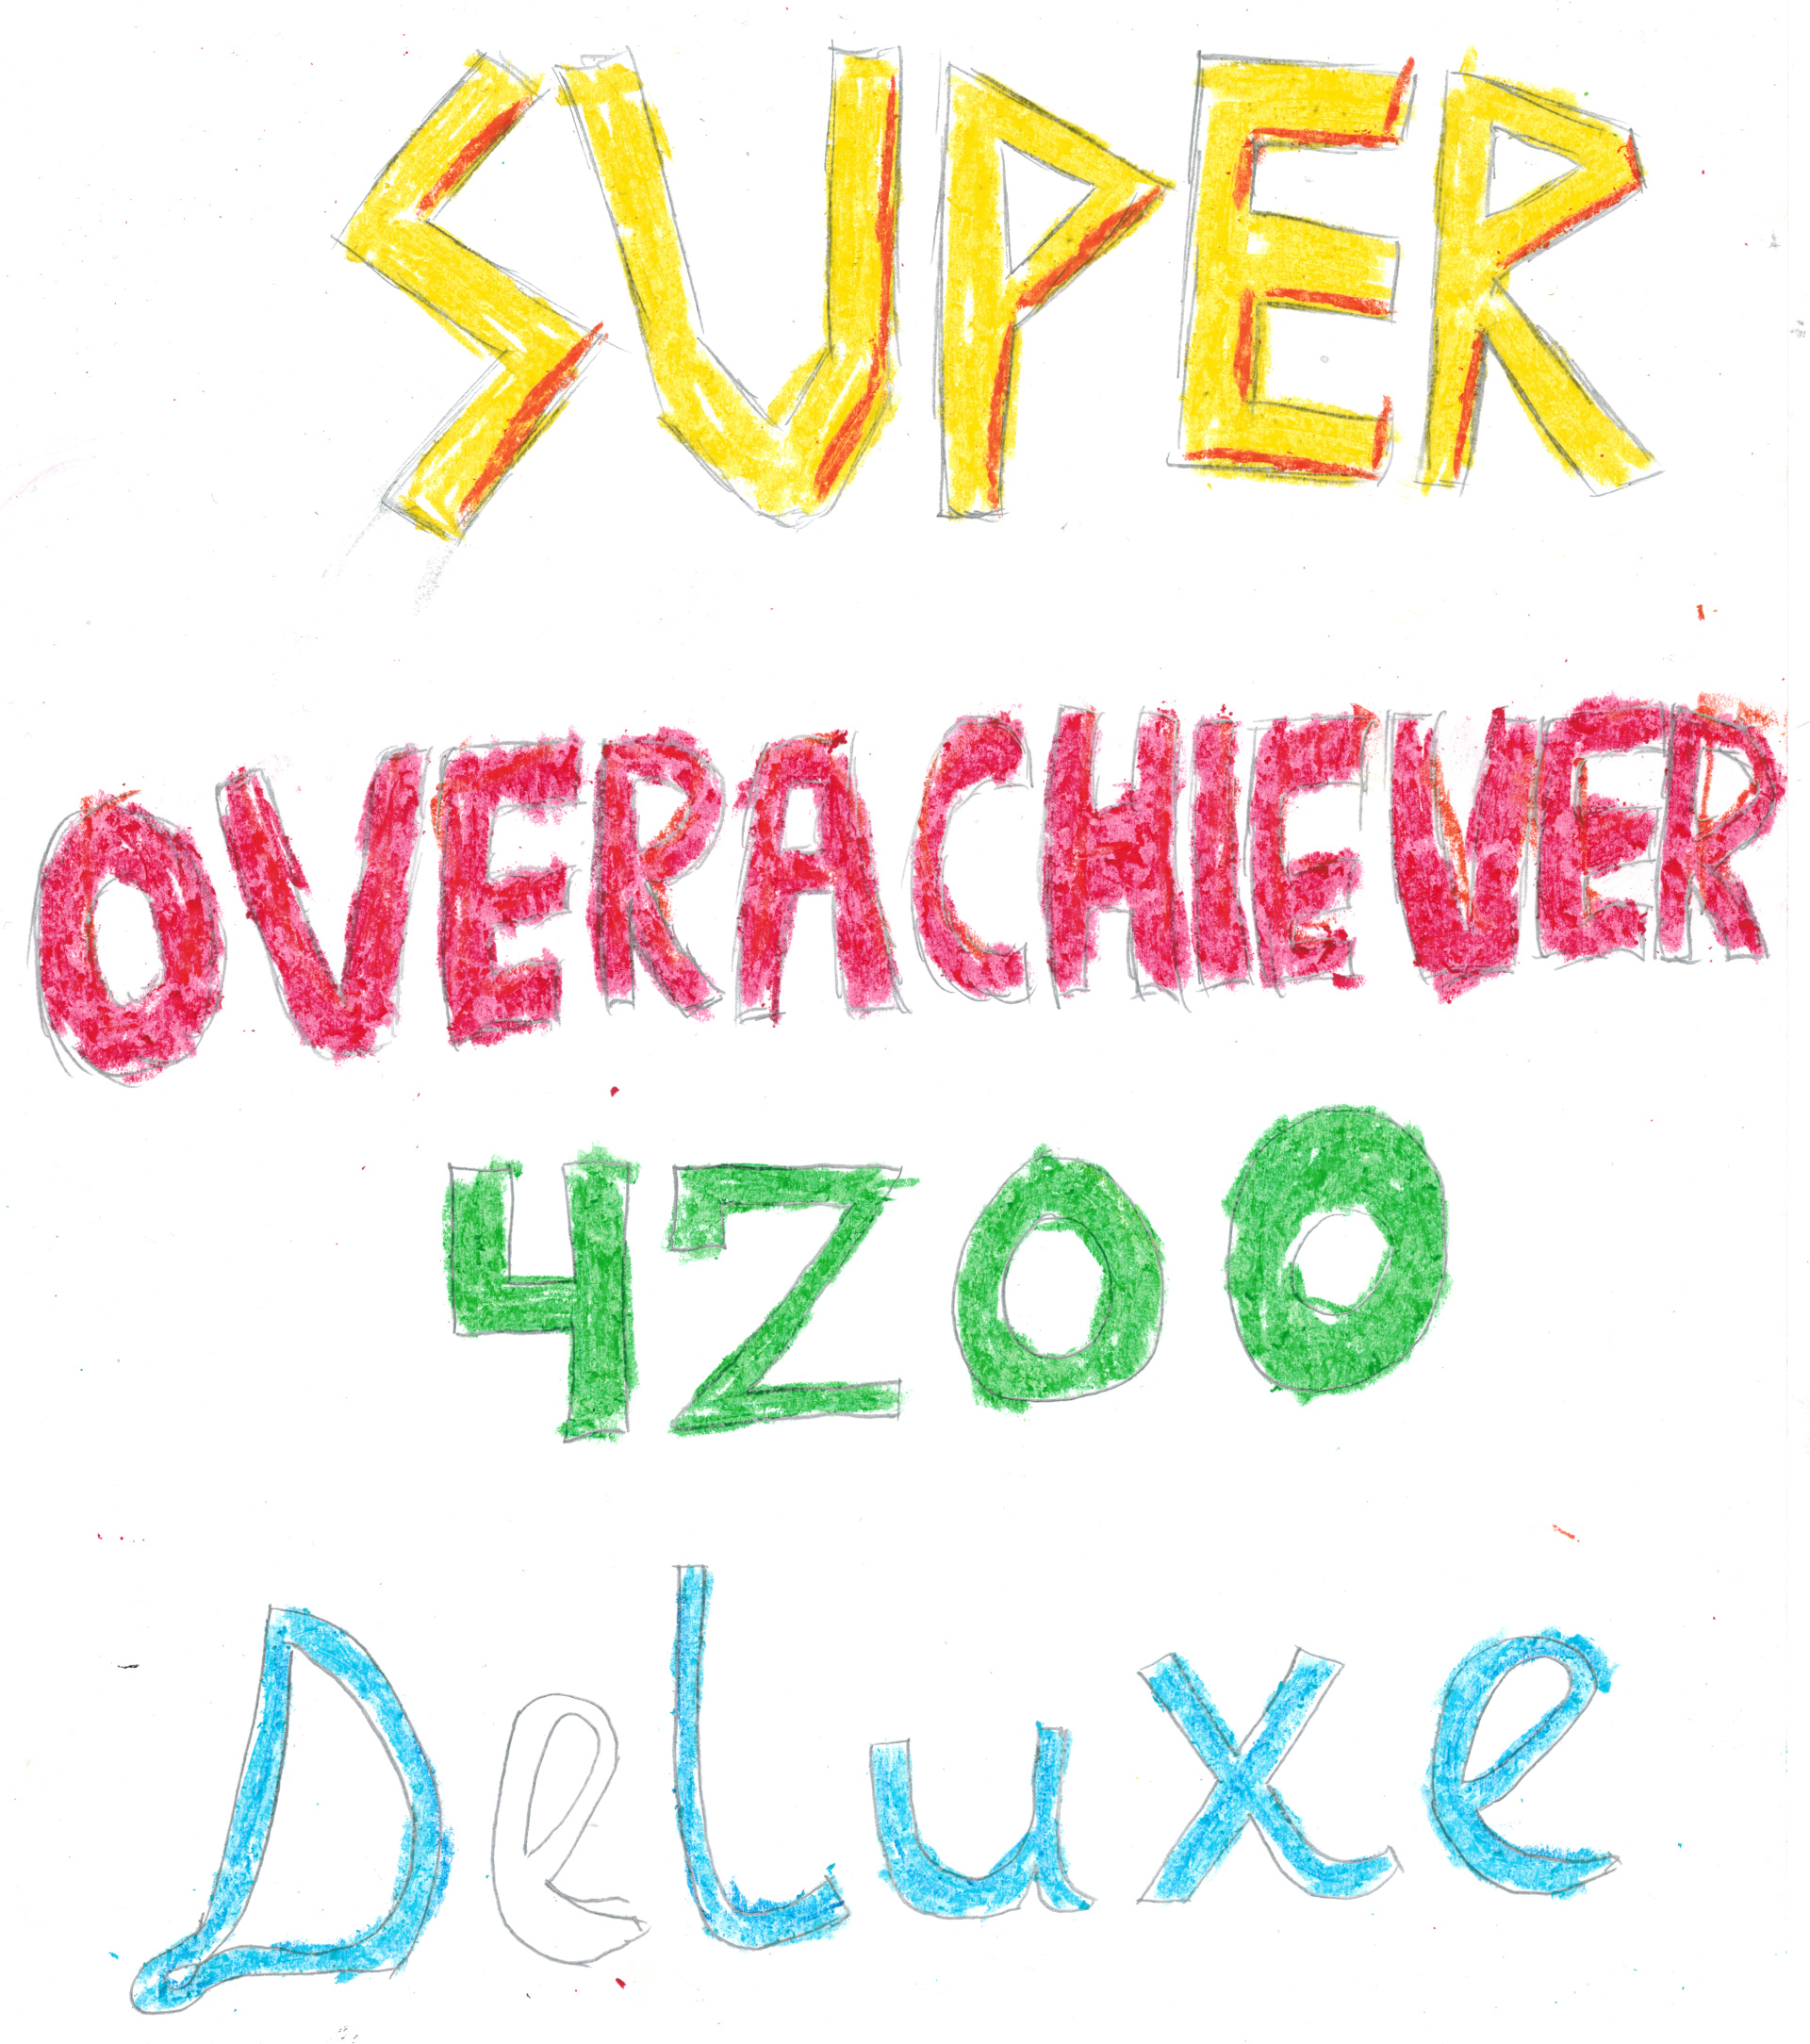
I created the drawing by starting with outlining the text with a pencil and then colouring everything in using the crayons. After that, I put the paper in the scanner and sent it to my computer. I then opened the image in GIMP and used a few filters to transform the crayon image into something more befitting the pixel-art style.
-
First, I used the "colour to alpha" tool to replace the white parts of the image with transparent pixels.
-
I then edited the image a bit, removing stray colouring, filling in places with too little colour, rotating the text to be more horizontal, and adding the missing "0" and "e".
-
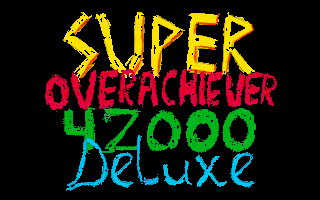
Next, I used the "threshold alpha" tool to get rid of everything that was more than half-transparent.
- Finally, I cut the image into individual parts and simply downscaled them with disabled interpolation.
Since each part of the logo was a separate image, I could experiment with positioning them from the JS code. I thought about adding some cool effects, like each part of the logo entering the screen from a different side, but I had more pressing matters to take care of, so that didn't make it in.
Producing pixel-art
At one point I had the idea to create graphics for the game in paper, using colour pencils – but as I wrote before, it turned out I don't have any, and whereas crayons turned out to be quite a good choice for the logo... drawing characters would require precise colouring, and that's hard to do with crayons. Well, alternatively, I could just draw everything bigger, but that meant more work. A bit reluctantly, I set out to create the "large" sprites for the game.
In the end, I must say that the result was surprisingly good; it's been a long time since I've done any pixel-art work, so I was very pleasantly surprised, both with how relatively effortless the sprite work was, and how good it came out.
Adding enemies
Most games have enemies, and this one would be no different. I started with adding the "walker" enemy, since this was a rather easy job – I could copy the walking mechanics from the hero, cut out the jumping/falling parts, and just add a "if there's a wall or a fall in front of you, turn around" check.
Next one was the "jumper" enemy. This one was trickier, since it had to be able to, well, jump and fall. The physics code wasn't universal, so I couldn't just flick an "affected by gravity" switch – I had to copy a large part of hero behaviour and merge it with the "walker" code to arrive at something working properly.
I wanted to add one more enemy, a jumper egg – which would spawn a jumper (or a few of them), and when the jumper was killed, it would start a countdown and then spawn a new one. Unfortunately this didn't make it into the game because of time constraints.
Level design
Oh good grief, level design. It was a long time from my previous Ludum Dare (almost 6 years), so I completely forgot how much time creating a good level takes. I mean, obviously this depends on the type of game you're making – for a puzzle game, levels are typically small, so the biggest problem is actually coming up with the puzzle, and after that, it's a breeze; but platformers and shooters and et cetera usually make use of large levels, which means not only a lot of tiles to place, but also a lot of playtesting to do.
I've spent the last ~4.5 hours of the allotted time on designing levels and – I must honestly say – that was barely enough. I wanted the game to have about 5 levels; it ended up having 4, with the last level being a hastily adapted version of the test map. Designing the levels itself took long enough, but I've spent a lot of time playtesting through the levels, to make sure I didn't create something that's impossible to finish. Though eventually four levels proved to be rather enough content for a compo game, at the time I was packaging it up and submitting, I felt a bit disappointed I didn't manage more. Still, this was better than with Colorful (LD25), where I've played through the game for the first time only after submitting it...
Thoughts and reflections
It was a long time since I took part in Ludum Dare, and I was very pleasantly surprised with the end result. I managed to finish a game – and it truly seemed like a finished game, at least to me; I didn't get the "looks like a prototype" feeling that I sometimes get playing jam games. So, wrapping up:
What went well
-
I finished the game! Yay!
-
The overall quality turned out to be pretty good. The game has a consistent look and feel and is quite pleasant to play.
-
Writing in vanilla JavaScript and running in the browser allowed for easy debugging. Going with a browser game instead of a native one also made handling graphics and sounds easier. It was also nice not having to worry about manual memory management.
- The crayon logo was a really good idea – little work lead to a nice-looking result. I'd definitely have to spend more time if I wanted to create something comparable via digital means. I will definitely try this again during my next game jam.
What went badly
-
Producing pixel-art in multiple sizes does, quite obviously, multiply the amount of work needed. Down-scaling can be lived with, since less detailed sprites are usually easier to make; but up-scaling means more work with small details, not to mention the simple fact that, well, 2× the sprite size means 4× the sprite area. Next time I want to play with changing the screen scale, I should think of having something that's easily scalable.
-
Level design takes a lot of time. Next time I should probably try to make a game that uses smaller levels, or even better – where the levels can be procedurally generated, or the best option – where there's no levels at all.
-
I left myself too little time at the end, since I was occupied with designing levels. As a result, the game shipped with a few small bugs which could be ironed out had I left myself some 30-60 minutes for making sure everything works top-notch.
- No music. I mean, this wasn't a matter of lack of time – I simply have absolutely zero experience in producing video game music. Still, having some tunes in the background would definitely help. As such, "learn to make music" is something I could put on my "before next game jam TODO" list.
So, uh, yeah. That's it. If you haven't played the game already, you can do that here. If you're interested in taking a look at the source code, check out the GitHub repo. The licence tag on this one is AGPLv3.

Comments
Do you have some interesting thoughts to share? You can comment by sending an e-mail to blog-comments@svgames.pl.